Rationale
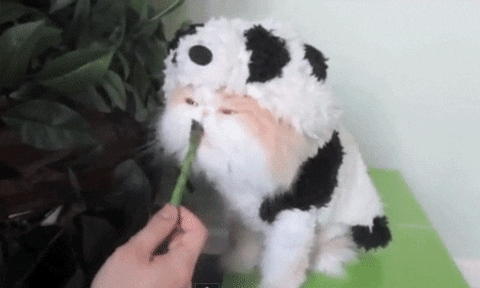
Maybe you’re a lurker on reddit, or maybe you’ve got a coworker who is always circulating animated gifs of kittens dressed up as pandas. Either way, if you’ve ended up here, you’re probably wondering how exactly those gifs are made. More than likely though, you’re a CSE300 classmate, so hello!
This tutorial shows how to use commonly available command line tools to create your own animated gifs to share.
Prerequisites
The following instructions presume you’re working with OSX, though if you’re using linux you should have an easy time following along. If you’ve already got youtube-dl ffmpeg and gifsicle installed you should skip down to “Create the gif”.
0.1) Launch the terminal
Launch the terminal by hitting ⌘+[spacebar] and typing “Terminal” in Spotlight Search:

0.2) Install homebrew
Install homebrew. It’s a package manager for installing fun tools for the command line. Paste this into your terminal:
ruby -e "$(curl -fsSL https://raw.githubusercontent.com/Homebrew/install/master/install)"Enter your password
homebrew will verify that you want to install, just hit [Enter]. The installer will then prompt you for your password. Don’t worry, it’s just trying to install itself into a directory that requires your permission to create. Enter your password:
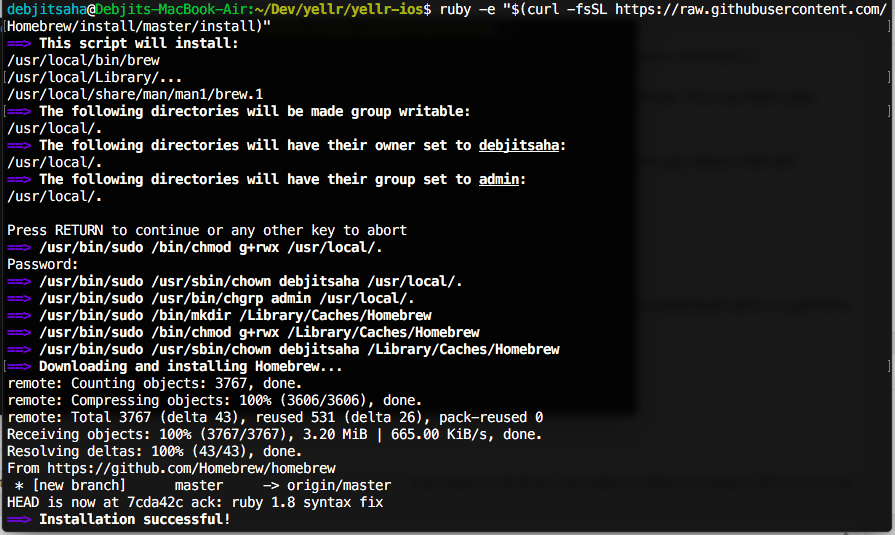
homebrew will download and install itself and you’ll return to your shell prompt.
0.3) Install ffmpeg, youtube-dl, and gifsicle
Now that you’ve got homebrew, you can install the software we’ll be using for this tutorial. Copy below and enter it into your Terminal:
brew install youtube-dl ffmpeg gifsicleYou’ll see output similar to below, where homebrew is fetching and downloading the software and its dependencies. This may take a few minutes, especially if you didn’t have homebrew previously installed:
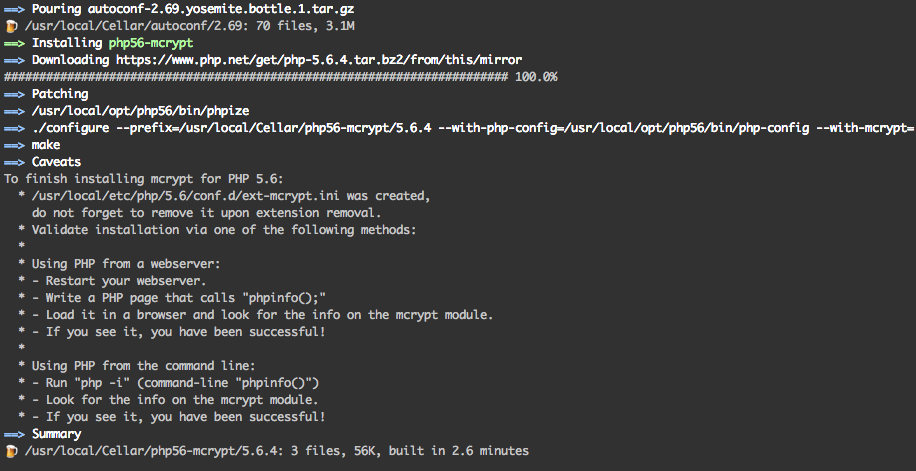
Congratulations! You now have the software required to follow the remainder of the tutorial.
Create the gif
We’re now ready to create the gif.
1) Find your youtube video
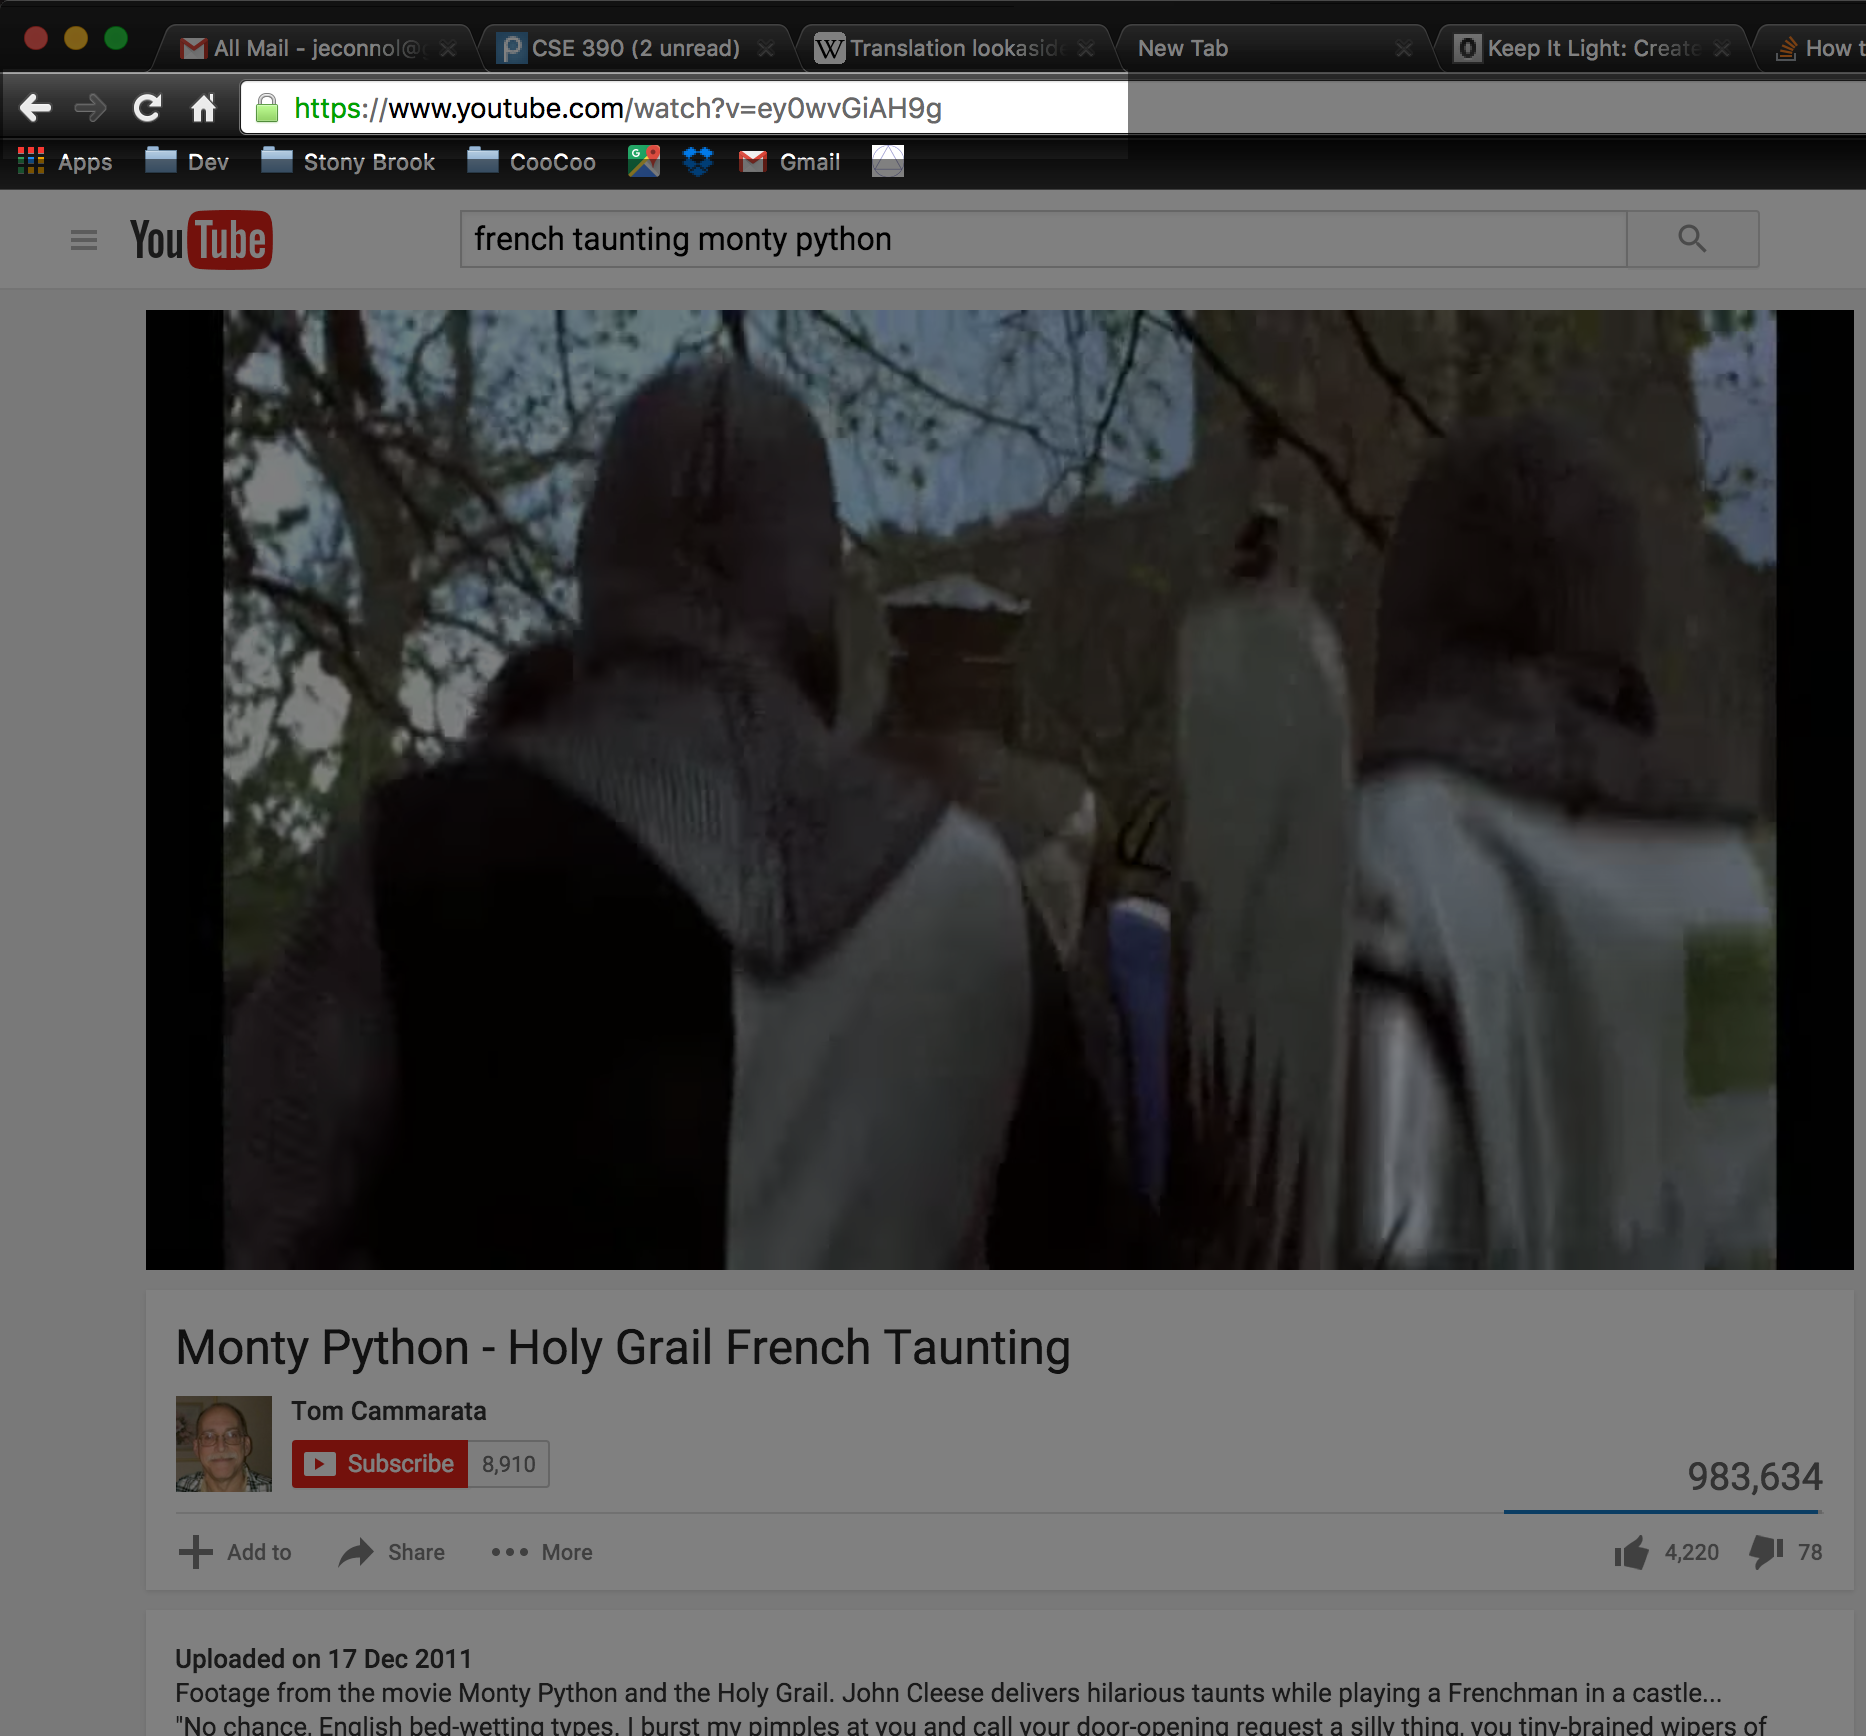
Find the youtube clip you’d like to immortalize as an animated gif. I chose a clip from one of my favorite movies, Monty Python and the Holy Grail.
While at the video of your choice, copy the URL from the address bar in your browser.
2) Download it
In your terminal window, change directories into /tmp where we’ll be doing our work.
cd /tmpNow download your clip with youtube-dl, replacing <YOUR_URL> with the URL you copied earlier.
youtube-dl <YOUR_URL> -o out.mp4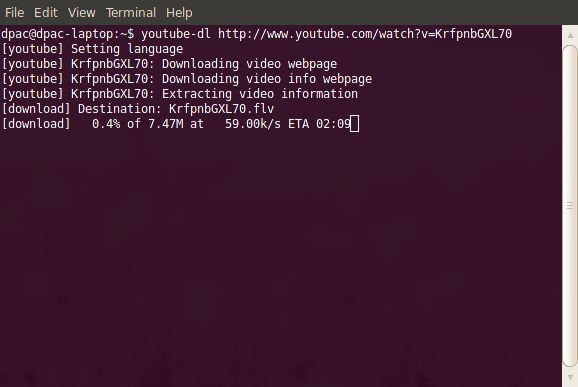
3) Edit it with ffmpeg
Here we’ll edit the video and encode it into a looping gif format. You’ll want to note the time in the clip you selected before proceeding. In my case, I want the moment where John Cleese, as a French soldier, childishly taunts Arthur from his castle perch, at 2 minutes, 0 seconds and 500 milliseconds (note that it’s dot for milliseconds). If you’re not sure of the exact time, don’t worry, you can do the below a few times and find the exact time:
ffmpeg -i out.mp4 -s 600x400 -pix_fmt rgb8 -f gif -ss 00:02:00.500 -t 4 - | gifsicle --optimize=3 --delay=3 > ~/Desktop/out.gif
The only values you’re likely to want to change are the -ss 00:02:00.500 and -t 4 fields. Adjust those to indicate what section of the whole youtube clip you’d like to select for your gif. A little trial and error will help you figure out those fields.
That’s it! To view your gif, I suggest opening it with your browser. Open Finder to your desktop, right click on out.gif and select “Google Chrome” or your other favorite browser. Then if you want to make edits to the timeline, you can just refresh the page.

4) Upload it to imgur
Now that you’ve got your gif, head over to imgur to upload it and forever immortalize your gif in history..
View post on imgur.com
Happy gifing!